


Got a question? We're happy to help
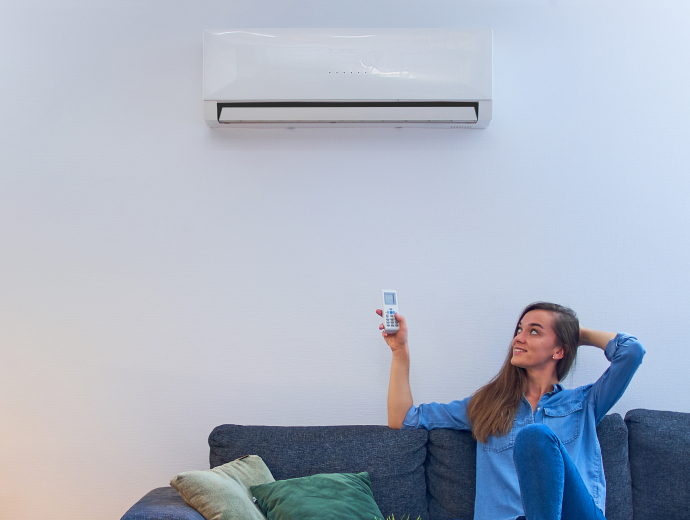
08719844416We’ve got you covered whether you need an air conditioner at home or in the office, and we can quote for jobs of any size.
Build your AC package nowor call us for a FREE quote on 0330 041 2742
Trusted by 10,000+ customers

Experienced engineers

1000s of installations

Fully accredited & insured
Every installation undertaken includes an F-Gas certificate.
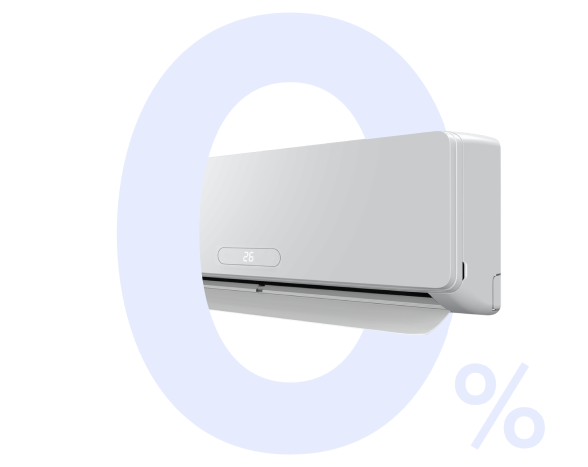
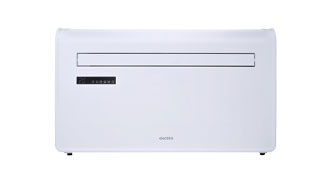
Buy a wall mounted air conditioner with our professional installation service and we’ll reduce the VAT to 0% for the unit AND the installation. Call us on 0330 041 2742 for more details.
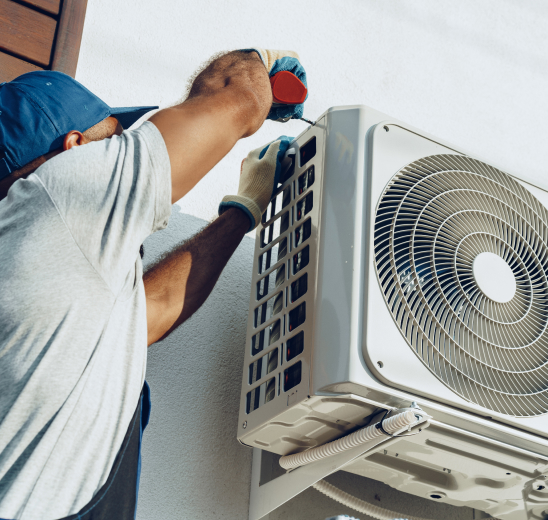
Our network of F-Gas Accredited Engineers is based across the country and can install your unit within 7-14 days. We’re specialist installers and provide all the necessary equipment for your installation, whatever the height or location*. We also offer an extended warranty and an annual service, just ask your sales advisor for more information. After installation, our field engineers are still there to help you, with servicing and repairing your units.
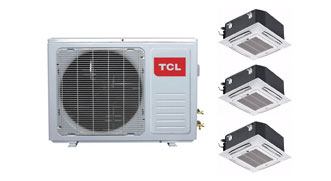
*We also offer trade installation services to business premises, factories, gyms, schools, student accommodation and hotels. Please get in touch for more information.
Not sure what you need? No problem, call us, and we can help.
Our installation teams will call to discuss the details and book an installation date.
An F-Gas Accredited Engineer installs and commissions your air conditioner.
Alternatively, call us for a Free quote on 0330 041 2742

“Excellent, highly recommended. Professional, high quality service. Many thanks.”
Doug
Manchester
“Very professional company. Job done on time and carried out to high standard.”
Jim
Rochdale
“100% recommend to anyone Thoroughly professional and highly reliable.”
Doug
Warrington
Air-conditioning installation costs from £800, inc. 0% VAT for home use! We offer installation in any building, on any floor; the typical price is based on:
We will discuss the installation and your requirements with you before taking payment for the service.
Want to work with us?
We're always looking to expand our network of skilled engineers