


Got a question? We're happy to help
08719844416
Looking to upgrade your heating? Replacing a radiator is a task many capable DIYers can handle, especially when swapping like-for-like with no changes to the existing pipework.
However, if the job involves moving pipes, changing the size, or if you are unsure about handling your heating system, it is always best to consult a qualified plumber.
If you have the correct measurements and are confident, you're ready to select your new radiator!
A quick guide to measuring your current radiator.
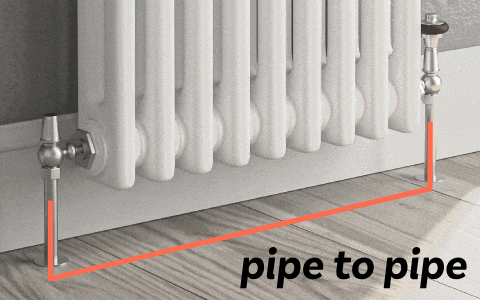
Before you buy, getting the right measurements is essential for a simple like-for-like replacement. Take all measurements in millimetres (mm).
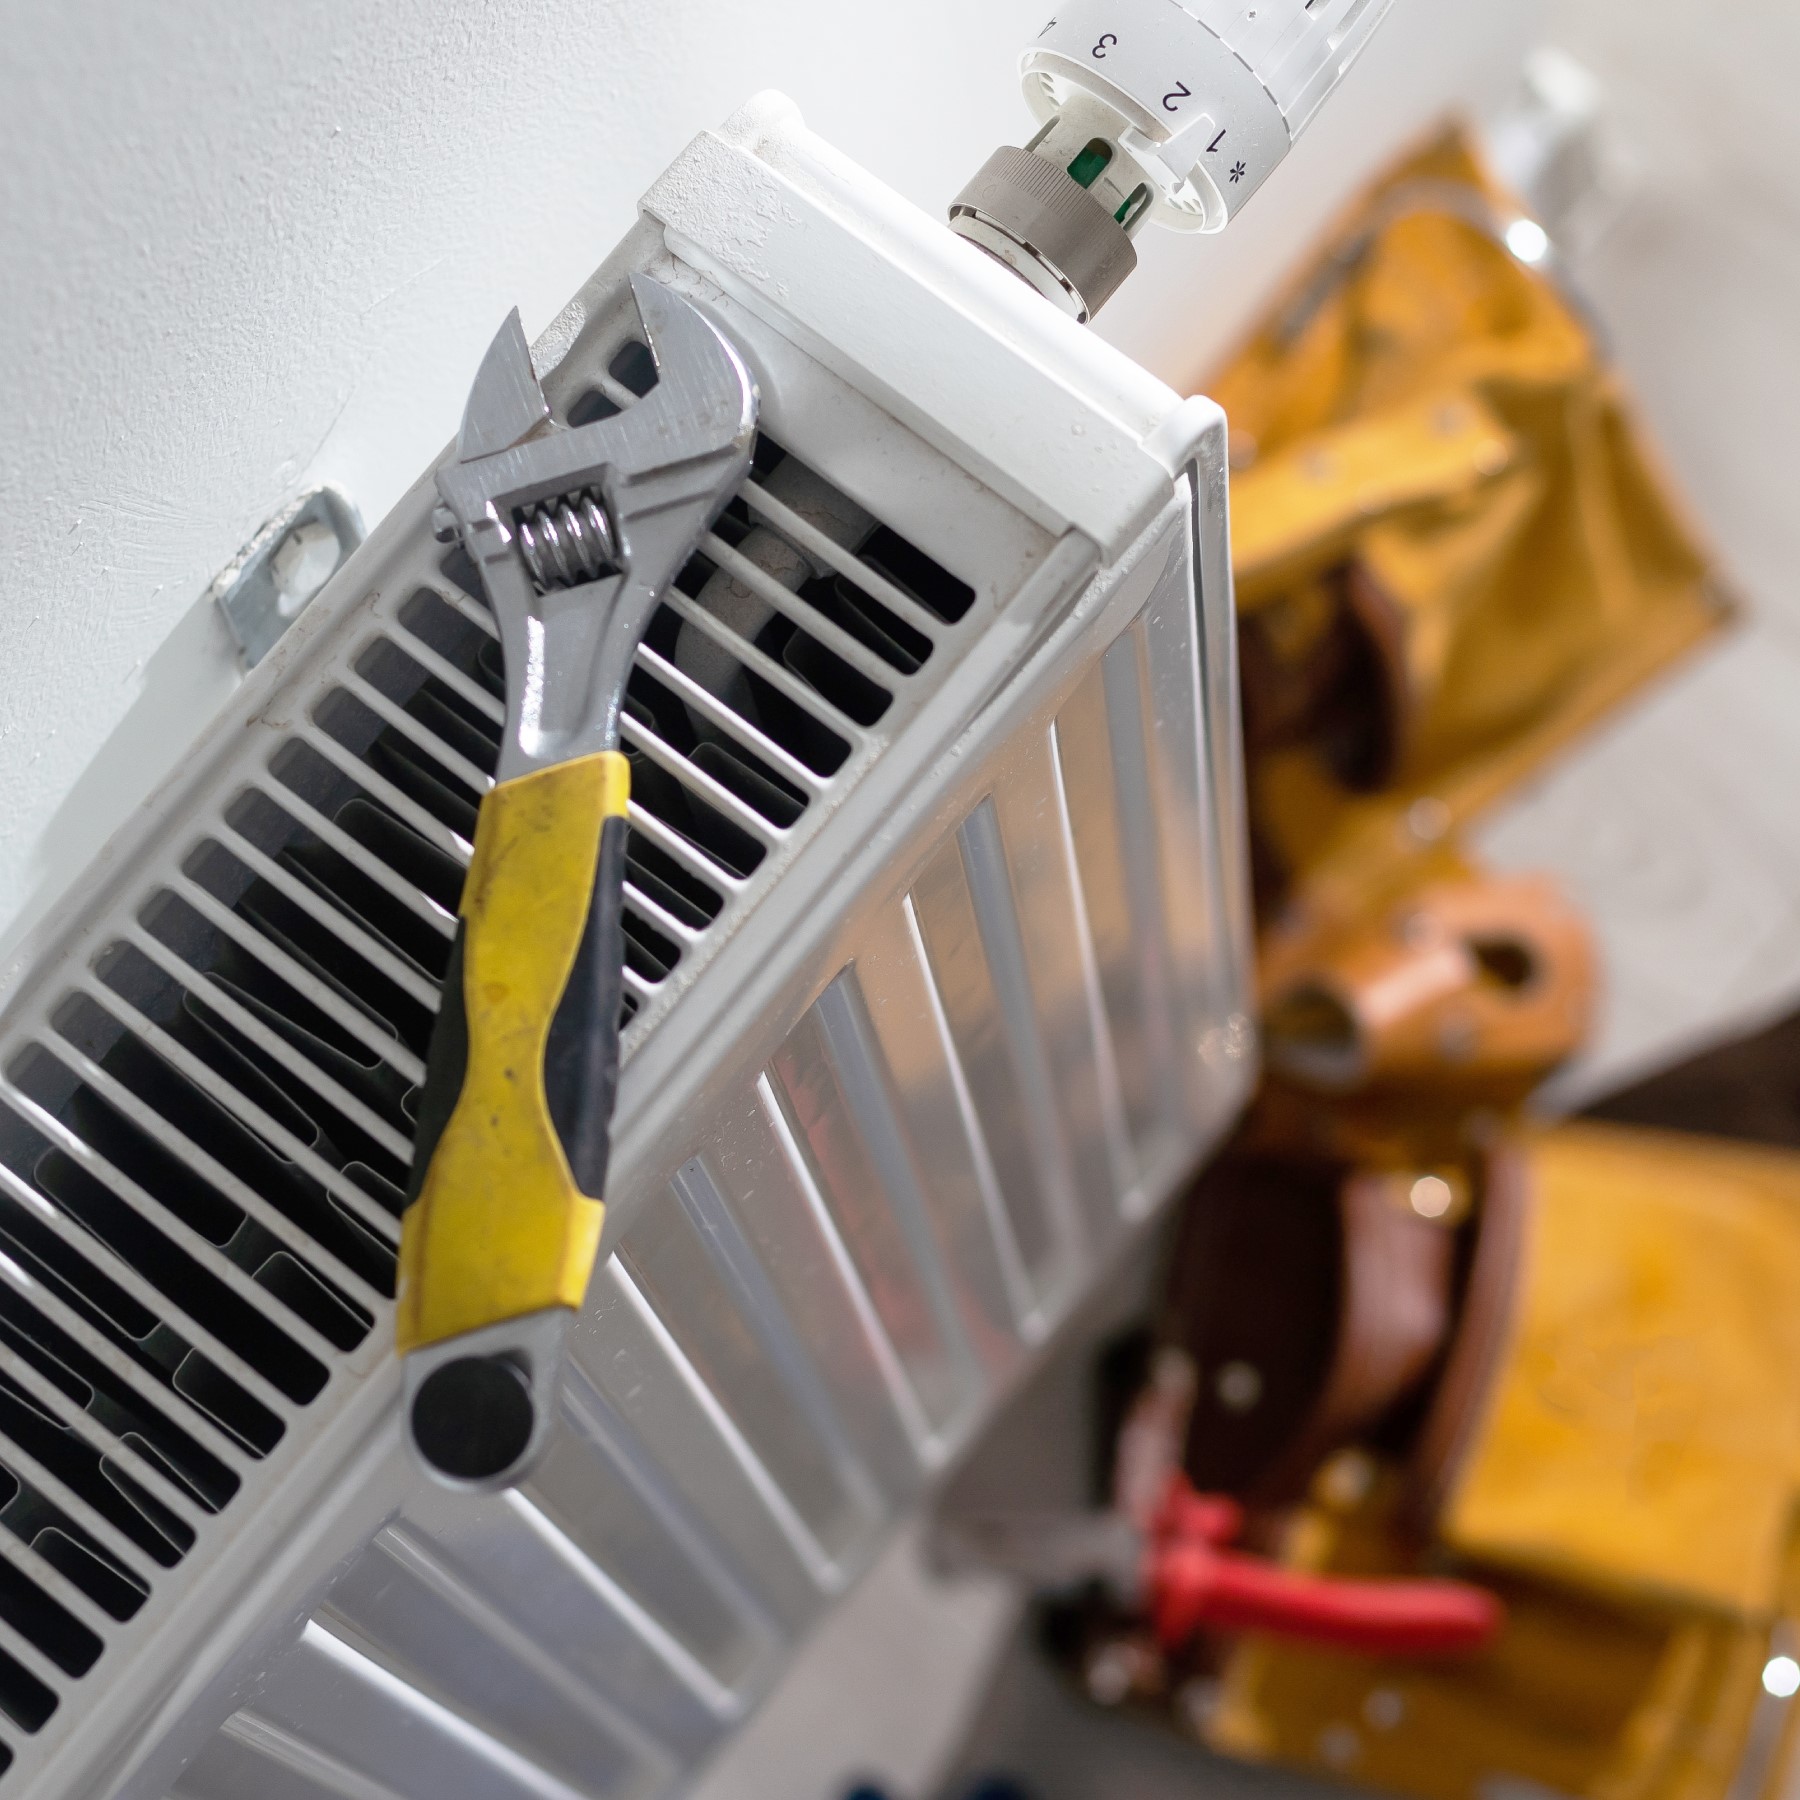
Safety First
Turn off your central heating system and allow everything to cool down completely before starting. Ensure you know where your system's main shut-off valve is, just in case.
You will need:
Turn off the central heating and allow the radiator to cool completely. Identify the manual valve (usually on the left) and the lockshield valve (usually on the right with a plastic cap). Remove the cap from the lockshield valve.
Are you keeping your old valves?
If yes, you only need to isolate the radiator. Turn both valves clockwise until fully closed. Count the turns on the lockshield valve so you can reset it later. Place a bowl under the valve nut, loosen it slightly, and open the bleed valve to drain just this radiator.
Are you replacing the valves? (System Drain Required)
To change valves, you must remove them from the pipes, which means water will flood out if the system isn't empty.
1. Turn off your boiler and the mains water supply (stopcock).
2. Find the drain-off valve (usually on a downstairs radiator) and attach a hosepipe securely with a jubilee clip.
3. Run the hose outside to a drain.
4. Open the drain-off valve. To speed up the flow, go upstairs and open the bleed valves on your radiators. Wait until the water stops flowing completely.
Disconnect the nuts connecting the valves to the radiator. Lift the radiator off its wall brackets. It will still contain some sludge, so tilt it backwards or stuff the inlets with tissue/cloth before carrying it outside.
If you drained the system to swap valves, now is the time to remove the old valve bodies from the copper pipework.
Unscrew the nut holding the valve to the pipe. If the old olive (copper ring) is stuck, you may need a specialized olive puller, but often you can clean the pipe with wire wool and reuse the existing nut and olive if they are in good condition.
Slide the new nut and olive onto the pipe, then fit the new valve body. Do not fully tighten yet.
Wrap PTFE tape around the threads of the new radiator tails (the metal connectors) about 10-15 times to create a watertight seal. Screw these tails into the bottom of your new radiator.
Hang the radiator on the brackets. Align the valves with the tails and hand-tighten the nuts. Once aligned, use your adjustable spanner (and grips to hold the valve body) to nip them up tight. Do not overtighten as this can crack the valve.
If you drained the system: Close the drain-off valve tightly. Re-open your water supply (or filling loop for combi boilers) to pressurise the system to around 1.5 bar.
If you just isolated the radiator: Simply open both valves (remember to open the lockshield by the number of turns you counted).
Go round your radiators with a bleed key to release trapped air. Once all radiators are full and the pressure is correct, turn your boiler back on and check for heat.
For a straightforward like-for-like swap, it usually takes between 1 to 2 hours. If you need to drill new holes for brackets or drain the entire system to swap valves, it may take longer (3-4 hours).
You can, but summer is generally better because your heating is off anyway. If you change them in winter, you'll need to turn the heating off for a few hours, meaning your house might get cold while you work.
Not necessarily. If you are swapping an old radiator for a new one of the exact same size (same pipe centres), it is a very manageable DIY task. However, if you need to move pipes or install a different size, we recommend hiring a professional.
Yes, swapping multiple radiators is just repeating the process. Just remember that draining multiple radiators will lower your system pressure significantly, so you will definitely need to repressurise your boiler once you are finished.