








Got a question? We're happy to help
03303903059A boiling water tap gives you instant access to boiling water at the sink, with many models also providing standard hot and cold water. Most systems combine the tap with an under-sink tank, while some may also include filters or additional accessories. This guide covers the key installation steps to help you understand what’s involved.
Installation requirements vary between brands and models, so always follow the instructions supplied with your specific tap and tank.
Before fitting your new tap, check that your kitchen setup has everything the system needs.
Turn off the water supply before removing or disconnecting your existing tap.
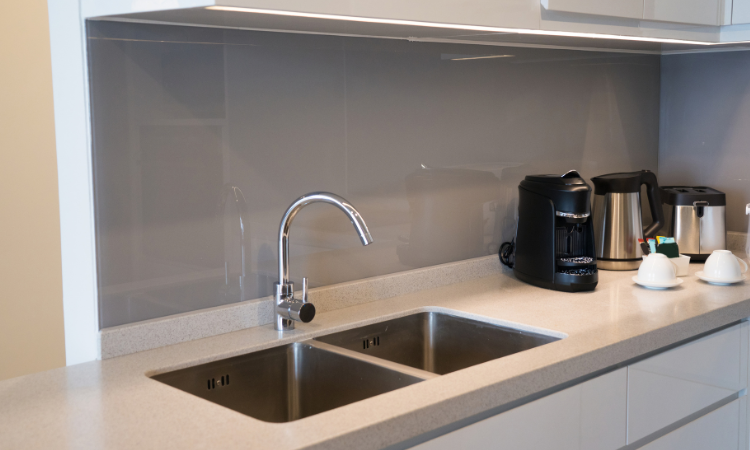
The exact tools will depend on your tap and existing plumbing, but you may need:
Top tip: Keep all the supplied fittings together and avoid substituting parts unless the manufacturer confirms they're suitable.
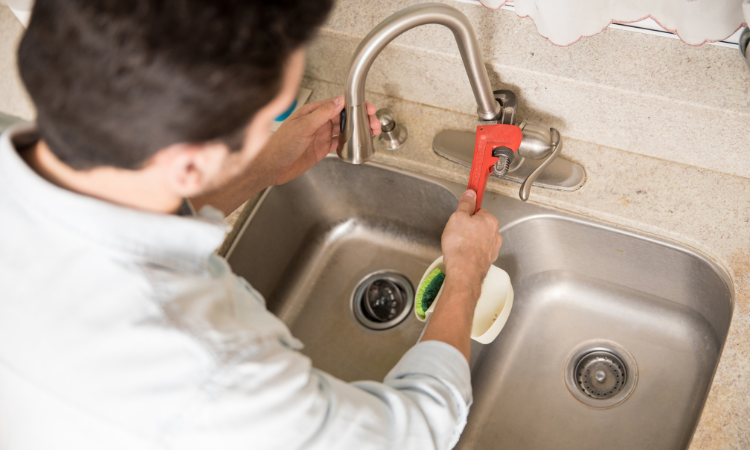
If you're replacing an existing tap, disconnect and remove it first. Clean around the tap hole before fitting the new tap.
Feed the tap connections through the sink or worktop, then secure the tap from underneath using the fittings supplied. Check that it's straight and correctly positioned before tightening fully.
Place the tank securely beneath the sink on a stable surface, making sure the connections remain accessible.
Connection layouts vary between products, so always follow the installation diagram supplied with your model.
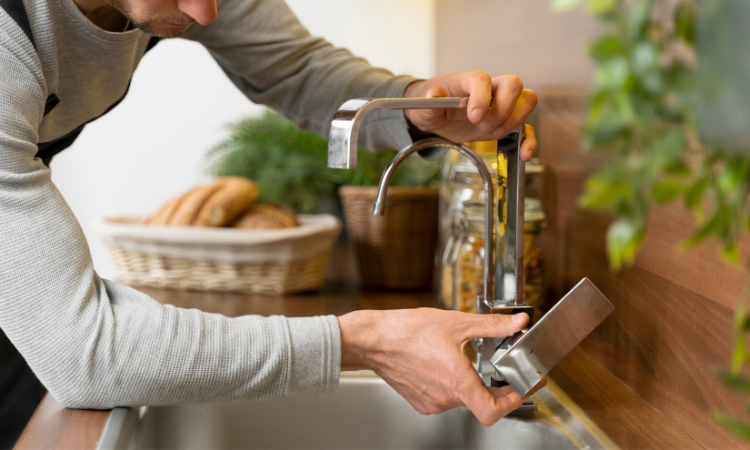
Turn the water supply back on and allow the system to fill according to the manufacturer's instructions.
Before switching the tank on, check all connections for leaks, make sure the tank is completely full and flush the system as instructed. Filters and other accessories may also need flushing before first use.
Once the tank is full and you've checked that there are no leaks, connect the system to the appropriate power supply as instructed.
Allow the tank to heat fully before using the boiling-water function. If changes to the electrical supply are required, these should be completed by a suitably qualified professional.
Test each available water function to make sure everything is working correctly.
Depending on your model, this could include hot, cold, boiling, filtered chilled or sparkling water.
Finally, check beneath the sink again for any signs of leaking or dripping.
Some boiling water taps can be installed by confident DIYers, particularly where the required plumbing and power supply are already in place.
However, because installation can involve water, electricity and very hot water, use a suitably qualified professional if modifications are required or you're unsure about any part of the installation.
Most systems use an electrically powered tank beneath the sink, although requirements vary by model.
Usually, yes. The tank and any filters or accessories are generally fitted inside the sink cabinet.
Some models replace your main kitchen mixer, while others are designed as a separate boiling-water tap alongside it.
That depends on your existing setup and the product. If plumbing or electrical alterations are needed, use an appropriately qualified professional.
Not necessarily. Filter requirements and compatibility vary by system and the water functions you choose.
Important: This guide provides a general installation overview only. Always follow the instructions supplied with your specific tap, tank and accessories.




